
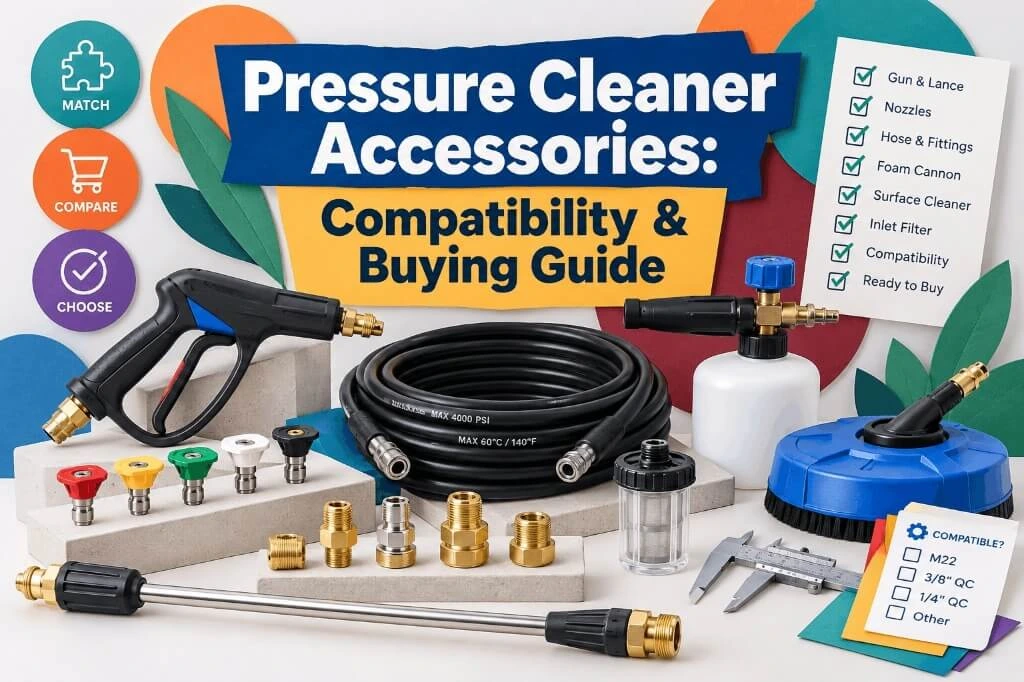
pressure washer nozzles

Overview of essential pressure cleaner accessories including spray guns, hoses, nozzles, and surface cleaners.
Buying Guides

Pressure Cleaner Accessories: A Practical Buying Guide

The right pressure cleaner accessories can make car washing, patio rinsing, and driveway cleaning faster and easier. The wrong ones can cause leaks, poor performance, awkward handling, wasted money, or surface damage. This guide explains which attachments are useful, how to confirm compatibility, and what to buy first. It is for homeowners, DIY users, and small cleaning businesses. Recommendations are based on equipment requirements and practical use cases—not claimed hands-on testing. Quick answer: Choose an accessory for a specific job, then match its connector, working-pressure rating, water-flow requirement, temperature limit, and nozzle size to your exact pressure washer. A high PSI number or “universal” label does not prove compatibility. Which Pressure Cleaner Accessories Do You Actually Need? Accessories change how water reaches the surface, how detergent is applied, or how comfortably you work. They do not increase the pump’s rated capacity. Start with the problem you want to solve. A stiff hose needs a handling upgrade. A large concrete area may benefit from a suitable surface cleaner. A car wash setup needs controlled rinsing and compatible detergent more than an aggressive nozzle. Main job Useful starting accessories Main limitation to check Car washing Wide fan tip, manageable hose, optional foam cannon Paint condition, nozzle suitability, cannon flow requirement Concrete driveway Matched surface cleaner and rinsing tip Minimum flow, pressure range, concrete condition Patio furniture Gentle spray and suitable detergent Material or finish may require hand washing Wood or composite deck Approved solution and controlled rinse Surface maker may restrict pressure washing House siding Detergent application and controlled-reach wand Water entry, height, and recoil Frequent paid work Serviceable gun, durable hose, spare seals Working ratings, parts availability, handling   A small set that you use regularly is better value than a large kit containing several unsuitable attachments. Pressure Washer Attachments: Check Compatibility First PSI, GPM, and working ratings When shopping for pressure cleaner accessories, checking compatibility is your most important step. PSI means pounds per square inch and describes pressure. GPM means gallons per minute and describes water flow. Attachments need the right combination. A surface cleaner can tolerate the pressure yet require more flow than the pump delivers; a foam cannon can fit but work poorly outside its operating range. Every high-pressure component must have a suitable working-pressure rating for the machine. A burst-pressure figure is not a working rating. A 5,000 PSI fitting does not turn a 2,000 PSI washer into a more powerful machine. Check temperature limits too. Cold-water accessories are not automatically suitable for hot-water equipment. “Cleaning units,” calculated as PSI multiplied by GPM, provide only a rough comparison. They do not confirm fit or cleaning quality, especially when separate maximum PSI and GPM figures do not occur together. Electric, gas, and cordless compatibility Power type alone does not determine whether an attachment works. Connections, operating output, and manufacturer approval matter more. Electric and gas models may use proprietary fittings, while small cordless cleaners may lack the flow for conventional surface cleaners. If you are choosing the machine as well, our guide to electric and gas pressure washers explains the broader buying decision. Read the connector description carefully “Universal” should prompt a closer check, not replace one. Record the machine model, gun inlet, hose ends, and wand outlet before ordering. An M22 threaded connection may use a 14 mm or 15 mm sealing insert. Those versions are not interchangeable simply because the outer threads engage. Likewise, a 1/4-inch nozzle connector and a 3/8-inch hose connector serve different positions in a setup. For proprietary twist-lock fittings, use an adapter specifically listed for that connection. Avoid building a long stack of adapters that makes the gun bulky and strains its inlet. Pressure Washer Nozzle Tips: Control the Spray A nozzle sets the spray pattern and contains an opening sized for water flow. Both features matter when replacing the original tip. Fan angle and nozzle opening are different A wider fan spreads the stream; a narrower fan concentrates it. A wide fan is still not automatically safe on peeling paint, soft wood, damaged seals, or delicate trim. The opening, often called the orifice, must match the intended pressure and flow. An undersized opening can cause excessive restriction or unstable operation; an oversized one can reduce working pressure. Use the machine’s specified tip size or an approved nozzle-sizing chart. Color coding commonly identifies spray angle, but check the markings and manual. Color alone does not establish flow size or surface suitability. A practical first spray Choose the gentlest approved setting, begin at the manual’s recommended distance, and test a hidden area. Inspect it before moving closer. Wet wood and concrete can temporarily hide marks. Where a turbo nozzle makes sense A turbo nozzle rotates a concentrated stream to cover more area. It can help on suitable durable masonry, but its movement does not make the jet gentle. Avoid treating it as a general-purpose car, siding, or deck attachment. It can damage finishes, dislodge weak mortar, and mark surfaces. Even on concrete, check condition and surface guidance first. Pressure Washer Hose and Fittings: Improve Handling Upgrading your hose is one of the most effective pressure cleaner accessories to improve overall handling and reach. A hose that catches around every wheel can make a simple wash frustrating. Length, flexibility, and routing may matter more to daily use than another spray attachment. Choose useful length, not maximum length Measure the route around your cleaning area. Include corners and the distance needed to keep the washer in a safe position. A longer hose reduces repositioning but adds weight, storage needs, and friction loss. Follow approved hose length and diameter specifications instead of joining several narrow extensions. Professionals should also compare abrasion resistance, flexibility, temperature rating, and replacement availability. Separate garden-hose fittings from high-pressure fittings Garden-hose couplers belong on the water-supply side. They must not be used as substitutes between the pump outlet and spray gun. Some mixed adapter kits include both types. Read the rating and intended position of each piece; do not assume
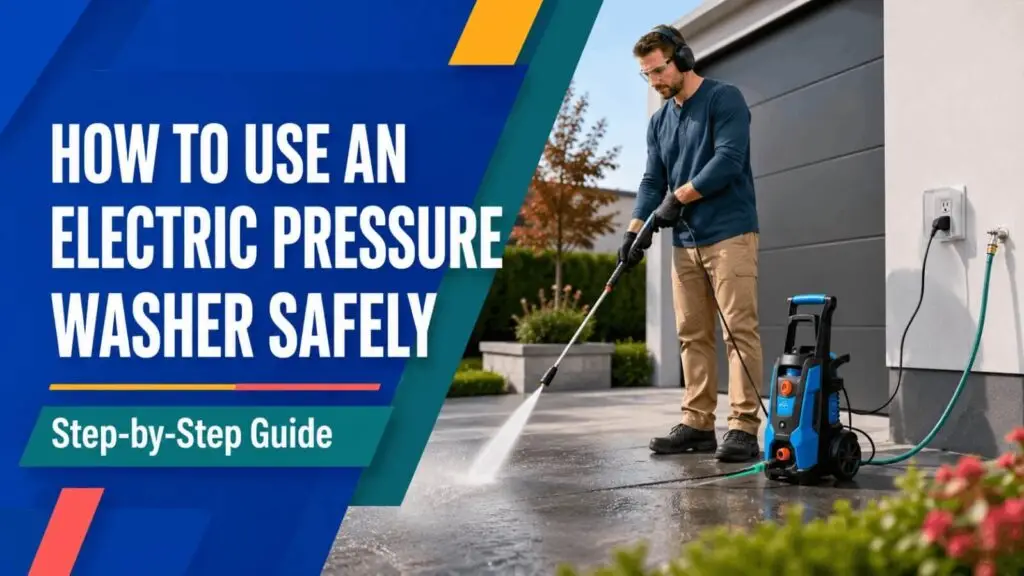
How to use an electric pressure washer safely step-by-step guide featuring a person pressure washing a concrete driveway
Guides & Tips

How to Use an Electric Pressure Washer Safely: Step-by-Step Guide

An electric pressure washer looks simple: connect a hose, plug it in, and pull the trigger. That shortcut is also how beginners end up with a pulsing pump, a tripped GFCI, damaged paint, or a machine that runs without enough water. Learning how to use an electric pressure washer safely means following the correct order. Connect the water system first, remove trapped air, establish a dry protected power connection, select a surface-safe nozzle, and test before cleaning the full area. This guide covers common residential corded machines from inspection through storage. Your model’s manual always takes priority. How this guide was prepared: This guide uses manufacturer instructions and recognized electrical-safety guidance. Always follow the manual supplied with your model. What an Electric Pressure Washer Does An electric motor drives a pump that increases the pressure of water supplied by a garden hose. The spray gun controls the flow, while the wand and nozzle shape the water into a narrow or wide pattern. Two ratings help describe cleaning performance: PSI (pounds per square inch) indicates water pressure. GPM (gallons per minute) indicates water flow. PSI loosens dirt, while GPM helps carry it away. More pressure is not automatically better; paint, wood, siding, vehicles, and furniture need more care than concrete. Most residential electric models also use a total-stop system that switches the motor off when the trigger is released. Not every machine behaves identically, so become familiar with its switch, trigger lock, nozzle system, detergent method, and shutdown procedure before starting. What You Need Before Starting Gather and inspect the equipment before connecting power: Electric pressure washer and its manual Garden hose capable of supplying the required water flow High-pressure hose, spray gun, and wand Correct nozzles or adjustable lance Clean water-inlet filter Pressure-washer-approved detergent when needed Safety glasses, closed-toe non-slip footwear, gloves, and hearing protection Grounded outdoor outlet with required GFCI protection Move children, pets, vehicles, fragile decorations, and loose objects away. Avoid sensitive outlets and fixtures without trapping water against electrical equipment. Inspect the cleaning surface for cracks, loose paint, damaged mortar, soft wood, open windows, and areas where water could enter. Sweep away stones and loose debris that the spray could throw. How to Use an Electric Pressure Washer Step by Step Step 1: Inspect the Machine and Work Area Place the pressure washer upright on stable, level ground. Check the power cord, plug, GFCI module, high-pressure hose, spray gun, couplings, and machine housing. Do not use equipment with exposed wire, a missing ground pin, hose bubbles, cuts, leaks, or broken guards. Plan separate routes for the electrical cord and garden hose. Keep the plug, outlet, and all cord connections away from runoff and the direction of spray. Step 2: Connect the High-Pressure Hose With the machine switched off and unplugged, connect one end of the high-pressure hose to the pump outlet and the other to the spray gun. Push or thread each fitting fully according to the manual. Tug gently on quick-connect fittings to confirm they have locked. Straighten the hose before pressure builds. Tight loops and kinks can restrict movement, make the hose difficult to handle, and place stress on fittings. Step 3: Attach the Spray Wand Connect the wand to the trigger gun using the model’s twist-lock, threaded, or quick-connect system. Engage the trigger safety lock while assembling accessories. Inspect the nozzle opening for debris. Never look into the nozzle or point the gun toward your hand while checking it. Use the cleaning tool recommended by the manufacturer if a nozzle is clogged. Step 4: Connect and Turn On the Water Supply Check that the inlet screen is clean and correctly seated. Attach the garden hose to the water inlet and tighten it by hand without damaging plastic threads. Open the tap fully unless the manual specifies otherwise. The water source must provide the required flow. A partly closed tap, narrow hose, kink, blocked filter, or leaking connector can cause low pressure, pulsing, overheating, or pump damage. Do not start the motor without water flowing through the pump. Some specialty machines can draw from a tank, but a normal garden-hose model should not be assumed to have that ability. Step 5: Purge Air With the Motor Off Keep the pressure washer unplugged and switched off. Point the spray gun in a safe direction, release the trigger lock, and squeeze the trigger. Let low-pressure water flow until the stream becomes steady and free from sputtering. Some manuals instruct users to purge the system without a nozzle or lance attached. Follow the procedure for your model. Once purging is complete, release the trigger, engage the safety lock, and install the appropriate nozzle if it was removed. Purging matters because trapped air can make the spray pulse and place unnecessary stress on the pump and hose. Step 6: Select the Safest Nozzle Start with a wide fan nozzle or the lowest adjustable-pressure setting. A narrow spray concentrates force into a small area and increases the chance of etching concrete, cutting wood fibers, lifting paint, or damaging vehicle trim. Common color coding may include white for a wider fan, green for general cleaning, yellow for a narrower pattern, red for a concentrated jet, and black for low-pressure detergent. Color conventions are common but not universal. Confirm the angle and purpose marked in your manual. For surface-specific guidance, see how much pressure different cleaning jobs require. Use the gentlest setup that completes the job. Step 7: Connect to Safe Electrical Power Dry your hands and confirm the machine switch is off. Plug the washer into a properly grounded outdoor outlet with the GFCI protection specified by the manufacturer. Test and reset the GFCI exactly as directed. The U.S. Consumer Product Safety Commission recommends GFCI protection outdoors, keeping cord-connected equipment away from water, and using only outdoor-rated extension cords. Keep the outlet and plug area dry, raised, and away from runoff. Do not remove the grounding pin, use an adapter, or defeat a GFCI that trips. Extension-Cord Warning Use an

Scroll to Top