
Guides & Tips

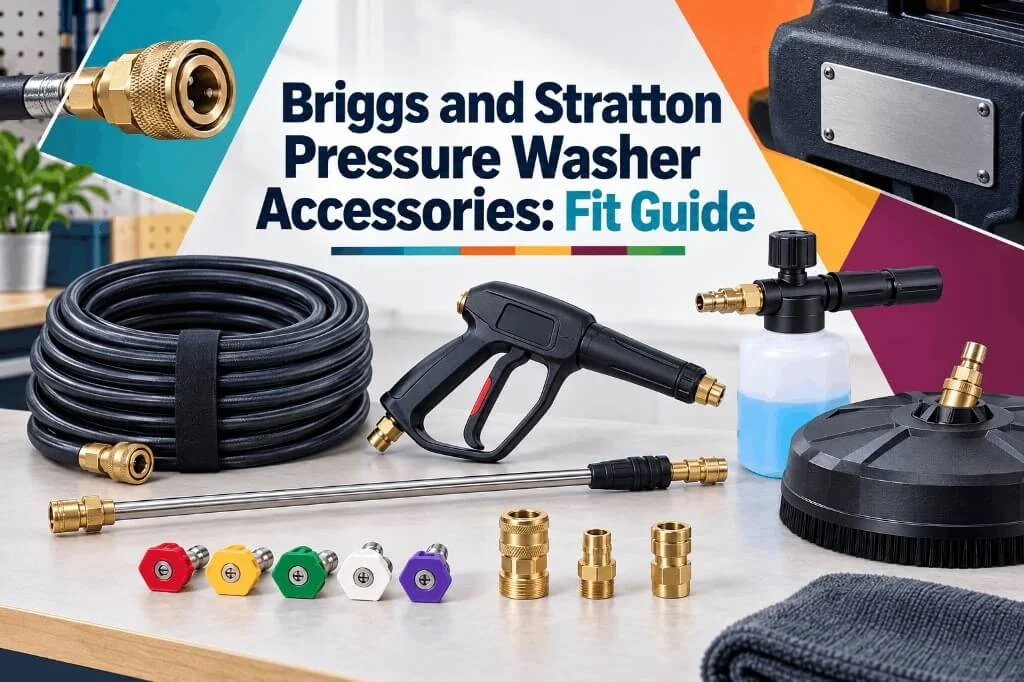
Complete collection of Briggs and Stratton pressure washer accessories including hoses, spray guns, and nozzles
Guides & Tips

Briggs and Stratton Pressure Washer Accessories: Fit Guide

The engine starts normally, but the hose has split near its connector. You search using the name on the engine cover and find dozens of replacements that look almost identical. Which one belongs on your machine? Quick answer: Choose Briggs and Stratton pressure washer accessories by the complete pressure washer model—not only the engine name. Before buying, verify the part number, connector type, working PSI, required GPM, water-temperature rating, and intended cleaning surface. This guide explains how to choose replacement hoses, spray guns, nozzle tips, fittings, surface cleaners, and detergent accessories for car washing, driveway cleaning, and general outdoor work. It uses manufacturer catalog information and established safety guidance. It is an independent, research-based guide and does not claim hands-on testing. Briggs and Stratton Accessory Compatibility Checklist Record these details before you shop: What to verify Where to find it Why it matters Complete washer model and revision Product identification label Identifies the correct manual and factory parts list Current part number Parts diagram or component label Helps locate an exact replacement or confirmed successor Maximum working pressure Washer manual and accessory label Prevents use of an underrated hose, gun, wand, or fitting Water flow in GPM Washer specifications Helps match surface cleaners and foam cannons Connector at both ends Existing hose, pump, gun, and wand Confirms thread, insert, plug, and socket dimensions Water-temperature limit Manual and accessory specifications Separates cold-water components from hot-water-rated parts Intended surface and task Attachment instructions Reduces the risk of surface damage or poor results Start With the Briggs and Stratton Pressure Washer Model Number A pressure washer combines several systems: the power source, pump, high-pressure hose, gun, and cleaning attachment. Their parts are related, but they are not identified by the same information. Identify the washer and engine separately For a gas machine, photograph both the washer’s identification label and the engine’s identification markings. Label positions vary, so use the identification instructions for your equipment. The engine details help identify engine service parts. The complete washer model and revision help locate its operator’s manual and illustrated parts list. Use the official Briggs & Stratton manual and parts lookup when the washer is a Briggs & Stratton product. If another equipment brand built the washer around a Briggs & Stratton engine, start with that equipment maker for the hose, gun, and pump assembly. Do not search only by horsepower, engine series, or advertised PSI. Different machines can share those details while using different parts. Check whether the equipment is still original On a used washer, a previous owner may have replaced the gun, pump, or hose. The original parts diagram then describes the factory setup, which may differ from what is attached today. Compare the current connections with the diagram before ordering. If they differ, send a supplier clear photographs and the identification details rather than guessing from a product thumbnail. Keep the information in a short equipment note on your phone. This makes future seal, nozzle, and hose purchases much easier. How to Match Briggs and Stratton Pressure Washer Accessories Pressure rating and water flow PSI describes pressure; GPM describes gallons of water delivered per minute. Both matter when choosing attachments. A hose, gun, wand, or high-pressure connector must have a working-pressure rating suitable for the washer’s maximum specified pressure. A higher burst rating is not permission to exceed the working rating. Flow matters especially for rotating surface cleaners and foam cannons. An attachment may tolerate the pressure while needing more water than the machine supplies. Also check temperature limits. A replacement listed for cold-water washing is not automatically suitable for hot water. An accessory cannot increase the rated capacity of the existing pump. Connector shape, size, and sealing method M22 threaded fittings and quick connectors appear on many setups, but do not assume every machine uses identical dimensions. For M22 connections, confirm the sealing insert size as well as the thread. M22-14mm and M22-15mm are different. For quick connectors, verify the plug and socket size and profile at the exact connection point. An adapter can solve a confirmed connection mismatch. It cannot correct an inadequate pressure rating or flow requirement. Long chains of adapters also add weight and potential leak points. Your power source does not establish accessory fit Electric and gas washers can have different hose systems, detergent arrangements, and operating requirements. The presence of an engine does not mean every “gas washer” accessory fits. If you are also considering replacing the machine, our guide to electric versus gas pressure washers can help separate machine selection from accessory selection. Briggs and Stratton Pressure Washer Hose: What to Check A replacement hose should restore safe operation and give you enough room to move without constantly pulling the washer around. A verified example: part 6188 The official Briggs & Stratton 6188 product listing identifies it as a 30-foot, 1/4-inch pressure washer hose for up to 3,000 PSI, with connections for male M22 threaded pump and gun fittings. It is intended for cold-water pressure washers. That makes it a candidate for a matching setup, not a blanket recommendation for every Briggs & Stratton washer. Confirm the sealing dimensions and model suitability before ordering. A machine rated above 3,000 PSI needs a different hose with the appropriate rating. The hose’s 1/4-inch size describes the hose bore, not a promise that its ends are 1/4-inch nozzle quick connectors. Product size descriptions often refer to different parts of the assembly. Length, flexibility, and routing Measure the route around your car or patio, including corners. More length can reduce machine movement, but it also increases storage bulk and friction loss. Choose a length and internal diameter permitted for your washer. For frequent use, look beyond the advertised length. Consider flexibility, abrasion resistance, connector strain relief, and how easily the hose coils. Keep it away from a hot muffler, sharp edges, and vehicle traffic. Replace hoses with bulges, exposed reinforcement, serious cuts, or high-pressure leaks. Tape and ordinary hose clamps are not suitable repairs. Replacement Spray Gun and Wand
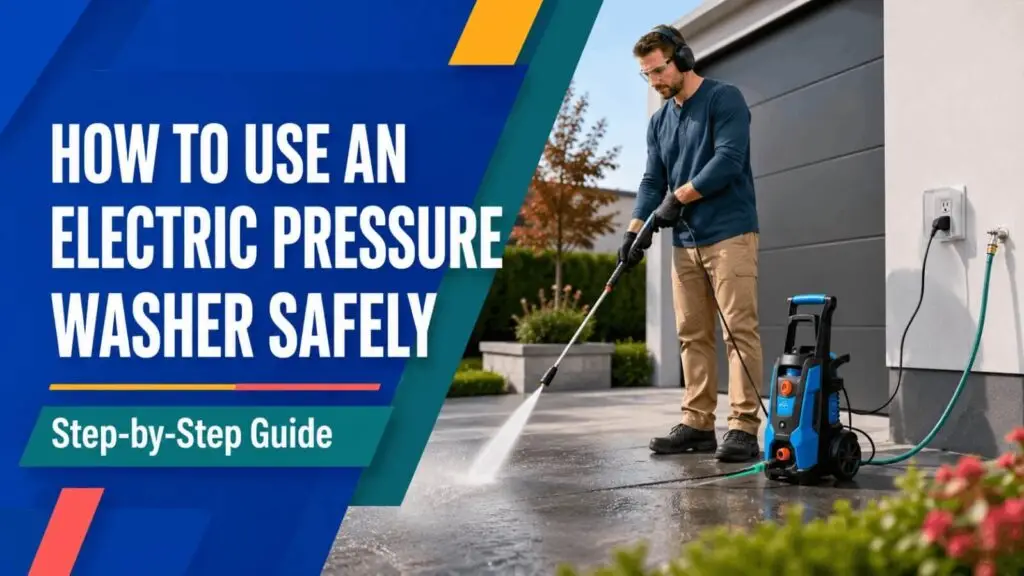
How to use an electric pressure washer safely step-by-step guide featuring a person pressure washing a concrete driveway
Guides & Tips

How to Use an Electric Pressure Washer Safely: Step-by-Step Guide

An electric pressure washer looks simple: connect a hose, plug it in, and pull the trigger. That shortcut is also how beginners end up with a pulsing pump, a tripped GFCI, damaged paint, or a machine that runs without enough water. Learning how to use an electric pressure washer safely means following the correct order. Connect the water system first, remove trapped air, establish a dry protected power connection, select a surface-safe nozzle, and test before cleaning the full area. This guide covers common residential corded machines from inspection through storage. Your model’s manual always takes priority. How this guide was prepared: This guide uses manufacturer instructions and recognized electrical-safety guidance. Always follow the manual supplied with your model. What an Electric Pressure Washer Does An electric motor drives a pump that increases the pressure of water supplied by a garden hose. The spray gun controls the flow, while the wand and nozzle shape the water into a narrow or wide pattern. Two ratings help describe cleaning performance: PSI (pounds per square inch) indicates water pressure. GPM (gallons per minute) indicates water flow. PSI loosens dirt, while GPM helps carry it away. More pressure is not automatically better; paint, wood, siding, vehicles, and furniture need more care than concrete. Most residential electric models also use a total-stop system that switches the motor off when the trigger is released. Not every machine behaves identically, so become familiar with its switch, trigger lock, nozzle system, detergent method, and shutdown procedure before starting. What You Need Before Starting Gather and inspect the equipment before connecting power: Electric pressure washer and its manual Garden hose capable of supplying the required water flow High-pressure hose, spray gun, and wand Correct nozzles or adjustable lance Clean water-inlet filter Pressure-washer-approved detergent when needed Safety glasses, closed-toe non-slip footwear, gloves, and hearing protection Grounded outdoor outlet with required GFCI protection Move children, pets, vehicles, fragile decorations, and loose objects away. Avoid sensitive outlets and fixtures without trapping water against electrical equipment. Inspect the cleaning surface for cracks, loose paint, damaged mortar, soft wood, open windows, and areas where water could enter. Sweep away stones and loose debris that the spray could throw. How to Use an Electric Pressure Washer Step by Step Step 1: Inspect the Machine and Work Area Place the pressure washer upright on stable, level ground. Check the power cord, plug, GFCI module, high-pressure hose, spray gun, couplings, and machine housing. Do not use equipment with exposed wire, a missing ground pin, hose bubbles, cuts, leaks, or broken guards. Plan separate routes for the electrical cord and garden hose. Keep the plug, outlet, and all cord connections away from runoff and the direction of spray. Step 2: Connect the High-Pressure Hose With the machine switched off and unplugged, connect one end of the high-pressure hose to the pump outlet and the other to the spray gun. Push or thread each fitting fully according to the manual. Tug gently on quick-connect fittings to confirm they have locked. Straighten the hose before pressure builds. Tight loops and kinks can restrict movement, make the hose difficult to handle, and place stress on fittings. Step 3: Attach the Spray Wand Connect the wand to the trigger gun using the model’s twist-lock, threaded, or quick-connect system. Engage the trigger safety lock while assembling accessories. Inspect the nozzle opening for debris. Never look into the nozzle or point the gun toward your hand while checking it. Use the cleaning tool recommended by the manufacturer if a nozzle is clogged. Step 4: Connect and Turn On the Water Supply Check that the inlet screen is clean and correctly seated. Attach the garden hose to the water inlet and tighten it by hand without damaging plastic threads. Open the tap fully unless the manual specifies otherwise. The water source must provide the required flow. A partly closed tap, narrow hose, kink, blocked filter, or leaking connector can cause low pressure, pulsing, overheating, or pump damage. Do not start the motor without water flowing through the pump. Some specialty machines can draw from a tank, but a normal garden-hose model should not be assumed to have that ability. Step 5: Purge Air With the Motor Off Keep the pressure washer unplugged and switched off. Point the spray gun in a safe direction, release the trigger lock, and squeeze the trigger. Let low-pressure water flow until the stream becomes steady and free from sputtering. Some manuals instruct users to purge the system without a nozzle or lance attached. Follow the procedure for your model. Once purging is complete, release the trigger, engage the safety lock, and install the appropriate nozzle if it was removed. Purging matters because trapped air can make the spray pulse and place unnecessary stress on the pump and hose. Step 6: Select the Safest Nozzle Start with a wide fan nozzle or the lowest adjustable-pressure setting. A narrow spray concentrates force into a small area and increases the chance of etching concrete, cutting wood fibers, lifting paint, or damaging vehicle trim. Common color coding may include white for a wider fan, green for general cleaning, yellow for a narrower pattern, red for a concentrated jet, and black for low-pressure detergent. Color conventions are common but not universal. Confirm the angle and purpose marked in your manual. For surface-specific guidance, see how much pressure different cleaning jobs require. Use the gentlest setup that completes the job. Step 7: Connect to Safe Electrical Power Dry your hands and confirm the machine switch is off. Plug the washer into a properly grounded outdoor outlet with the GFCI protection specified by the manufacturer. Test and reset the GFCI exactly as directed. The U.S. Consumer Product Safety Commission recommends GFCI protection outdoors, keeping cord-connected equipment away from water, and using only outdoor-rated extension cords. Keep the outlet and plug area dry, raised, and away from runoff. Do not remove the grounding pin, use an adapter, or defeat a GFCI that trips. Extension-Cord Warning Use an

Scroll to Top